Atlassian Confluence and JIRA
Configuring Atlassian Confluence and JIRA to authenticate user access using Globus Auth and the OpenID protocol.
Globus Auth implements a standard OpenID Connect (OIDC) service accesible using an existing OpenID Authentication add-on for Confluence and JIRA. This external OpenID authentication may be used for unprivileged user access. For privileged adminstrative access Confluence and JIRA require the administrator to use an internal password.
Before you can start
Login to Confluence or JIRA as an administrator.
Install the plug-in
- Navigate to “Administration -> Atlassian Marketplace -> Find new add-ons” and search for the “OpenID Authentication” add-on for Confluence or JIRA.

- Install the OpenID Authentication add-on from Pavel Niewiadomski.
- Obtain and configure a full license or trial license.
Configure the OpenID plug-in
- Navigate to “Administration -> Atlassian Marketplace -> Manage add-ons”.
- Under OpenID Authentication for Confluence (or JIRA) select the “Configure” option.
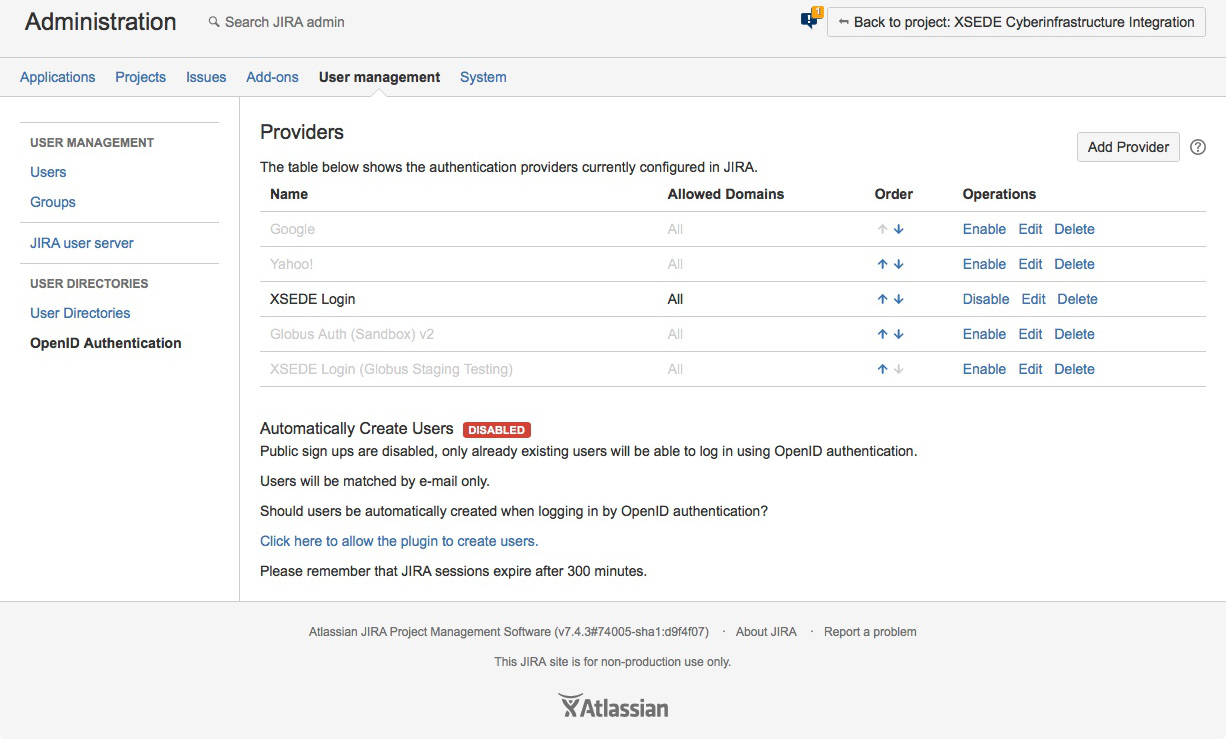
- Under Providers select “Add Provider”.
In “Add Authentication Provider”:
Select provider “OpenID Connect/OAuth 2.0”.
Enter:
Name “My Login” (or whatever label you want users to see on the login window).
Provider URL “https://auth.globus.org”.
Copy the generated Callback URL to place in the Redirects field when registering your Confluence or JIRA application with Globus Auth in the following step.
In a new Incognito Browser Window follow the application registration instructions in the Globus Auth Developer’s Guide.
- Copy the newly generated Client Secret for the Confluence or JIRA application registered in Globus Auth.

- Return to the Confluence or JIRA provider registration window.
- Paste the Client Secret generated for the Confluence or JIRA application registered in Globus Auth above.
- Enter the Scope “openid email profile”.
- Leave “Allowed Domains” blank.
- Select Authentication prompt “consent”.
- Click “Add Provider”.
- Make sure “Automatically Create Users” has the desired value.
Test the plug-in
From a new Incognitor Browser Window access your Confluence or JIRA service and authenticate using “Your Login”.